
In this article we will explain the step by step to create a video With the Google tool I see 3 (in its free version) and until putting soundtrack.
Actually, Plan A was to teach you how it works DREAMBOARDa platform designed for the creation of videos generated by AI, using the power of models such as Gemini, image and I see Google Peeeero, things happen (we will expand). The important thing is that we have managed to use I see 3, which has been quite simple and that the results were very cool.
So we are going to show you the pros and cons of both tools, And how we have been able to create a video with AI from scratch.
How to create a video from scratch with I see 3
I see 3 is available in the application of Gemini in Spain for people subscribed to Google AI Pro since the beginning of July. It is a quality leap in terms of realism and precision with respect to its predecessor I see 2, in addition to highlighting its ability to generate and integrate synchronized audio.
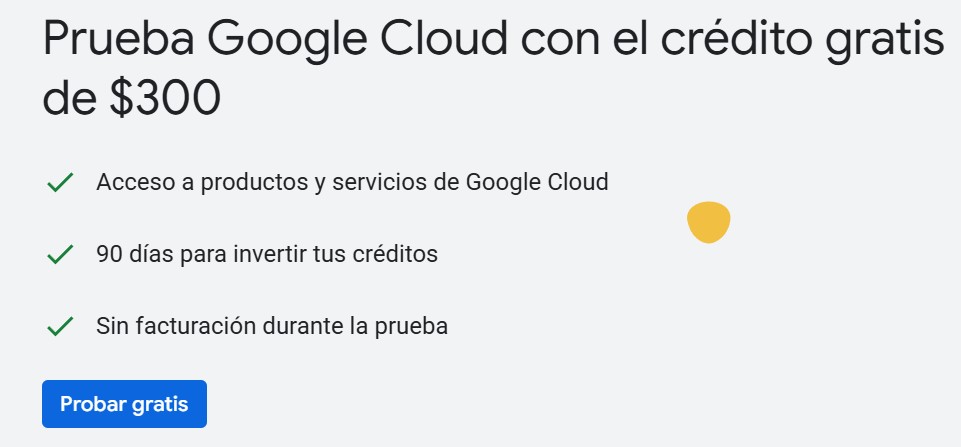
The bad news is that it is paid. If you go directly to its official website, you should subscribe to any of its plans to use it (from $ 37.5 per month, with an annual plan). But, If you access Google Cloud Platform (GCP), you will have 300 dollars of credit To use during the next 90 days in any of the payment tools included in Google Cloud.
Step by step to use I see 3 from Google Cloud Platform:
To do this, you must associate a Google account, which can be of a natural person or company, and -now comes the counter-, put data from a credit or debit card and a fiscal domicile. It is tedious, we know it, but $ 300 of credit yields for a lot and we assure you that I see 3 is worth it. Once this is done, at the top of the page, in the title bar, you will see a project selector (probably say “My First Project” or the name of an existing project). Click on it. In the emerging window, click «New project» (or «New Project»).
Click “Create”. The project will be created in a few minutes and you will be redirected to the control panel of your new project.
Once you are in the project you have created, In the search engine you are going to see VERTEX AI And the option will appear to select it in a drop -down. Once there you will choose the option to generate video with I see 3 And you just have to write your prompt.
Our first test was to write: “A black cat running through the field.” The system took between 60 and 95 seconds to generate an 8 second video. Not only was an image of excellent quality created, but the video included the ambient sound of the cat running around.
In our second test, we gave a slightly more complex prompt to generate: “A person buying online on his sofa.” We wanted to test it with the generation of people, since these are usually a bit in this regard. However, after two minutes of work, I see 3 generated two very realistic video options, in which you can also hear the noise of the card posing on the table and the “click” when the computer closes.
In addition, if you click on any of the videos, you appear more Options to edit them with other VERTEX AI models. For example, you can extend the video, add a voiceover and even generate a soundtrack with the Lyria tool, which makes it perfect for advertisers. For the latter, you just have to include another prompt.
An important fact is that the tool only supports prompts written in English, At least for now.
We leave you the tutorial with the step by step, where you can see the final videos:
What is Dreamboard (and why we don't use it)
Dreamboard is one Google integration oriented to advertising creations. With this tool you can generate initial concepts and ideas for advertisements, convert text to image, video to video, text and video to video, among other options, and align it with the guidelines of your brand.
In short, Dreamboard It covers the entire creative process, from the initial idea to the final video. To use it you also need a Google Cloud Platform project (GCP) With the enabled billing And access to Gemini's APIS, image and see.
So that Dreamboard can use Gemini, image and see, you must make sure that the corresponding APIs are enabled in your GCP project.
Already in this part we had to start google because we are not programmers, we are marketers with limitations. But we still continue, because we don't give up easily, no sir.
In the Google Cloud console, we ensure that the project we create was selected. Then, in the left navigation menu (the “hamburger menu” or three horizontal lines), we went to “APIS and services”> “Apis library”
There, we use the search bar to search and enable the following APIS:
Gemini: Looking for “Gemini Api” Image: Search “Image API” and if you don't get out, “vertex ai API”, since image is also part ofvertex ai I see: seeks “I see API” (or similar, it is possible that it is also under vertex ai or as an independent service).
For each of them, we follow the following steps:
Click on the name of the API. Click on the “Enable” button if you are not yet enabled.
Once this was done, we had breakfast that we had to Go to Git-Hub and integrate Dreamboard into the project. And there we arrive. We realized that our knowledge needed more knowledge and we discovered that with I see 3 all part of the APIs we could save it.
Does this mean that I see 3 better than Dreamboard? No (or at least we couldn't check it). This means that we have not knowledge of enough programming to use the second and that I see 3 is more accessible to beginners.
If you know of programming, we recommend that you try the same prompts with both tools to compare results. And then tell us in the comments 🙂
And so far, our sad story with a happy ending. We hope you have served you for your future projects and that you know programming 😉
Photo: I see 3


